Open-source desktop slicer · Linux

The slicer that treats multiple printers as the default — and shows its work.

n3o-slic3r drives OrcaSlicer's engine through a UI built around how people with more than one machine actually work. Printer is a property of the plate. Every setting tells you where its value came from. The whole workflow — load, slice, preview, send, monitor — runs on your machine, with no other slicer, no cloud, and no telemetry.

Ships with profiles for Bambu Lab A1 mini Snapmaker U1 — full slice-and-send over your LAN; the cascade model generalizes to more
n3o-slic3r first-run screen: 'Set up your first printer' with profile chips for Bambu Lab and Snapmaker.
First run — pick a profile, name it, and you're configured in minutes.

Why it's different

Five ideas the existing slicers got backwards.

01

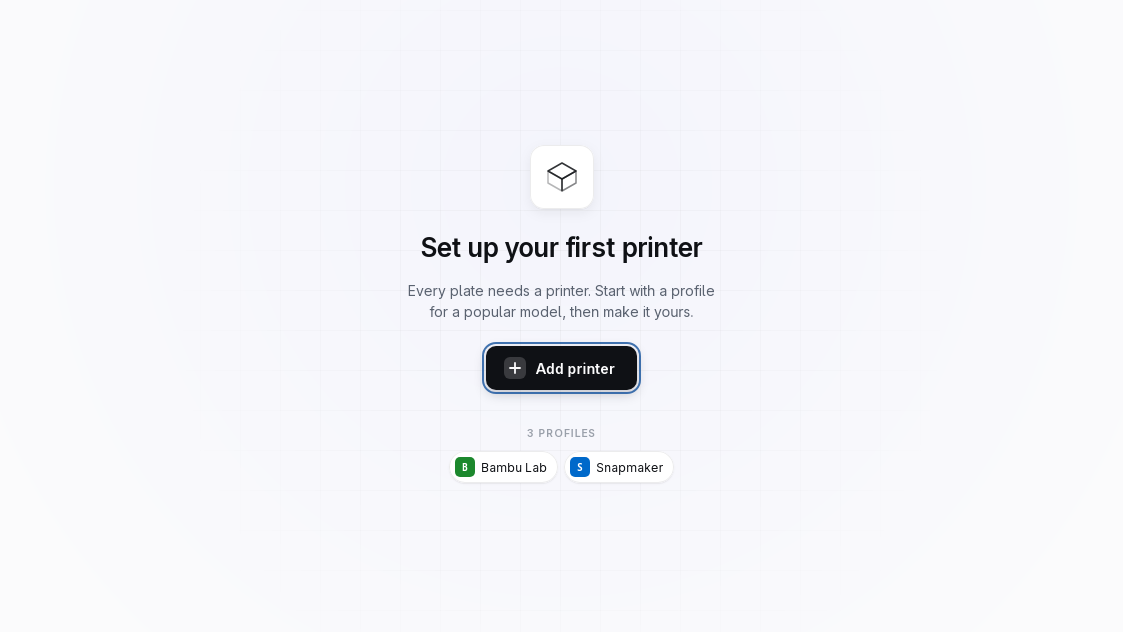
Multi-printer by default

No "active printer" modal state to fight. A printer is a property of a plate. Put plate 1 on your A1 mini and plates 2–3 on your U1 in one project, and slice each for its own machine — no duplicate files, no re-selecting filament, no lost per-object tweaks.

02

Show the source

When a value differs from default, the UI tells you exactly which layer of the cascade set it — printer → plate → nozzle → filament → user → project → object — highlighted in a hover ladder, with one-click reset to the inherited value. No more guessing whether your override is fighting a printer-specific tuning.

03

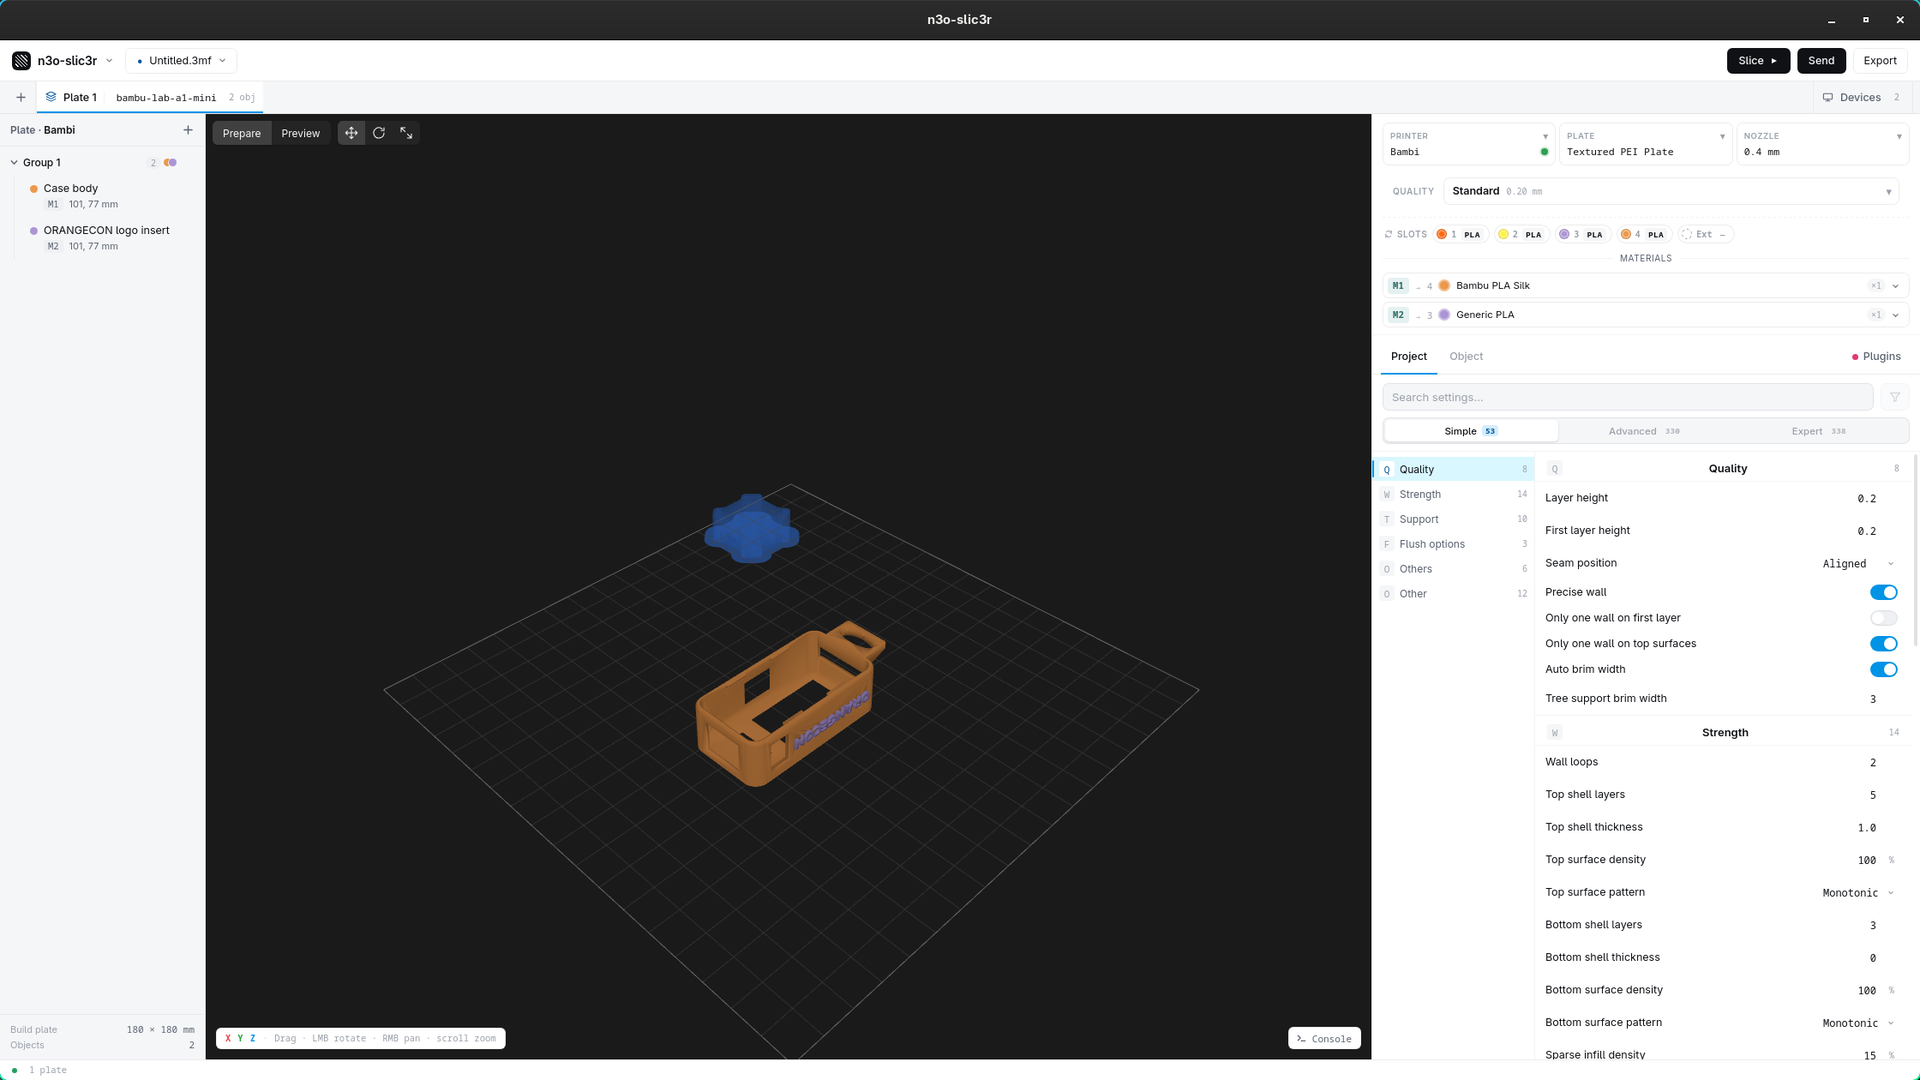
Your slots are the truth

A model carries abstract material indices, not a baked-in filament. What each one prints as is whatever's loaded in the slot you bind it to. So there's no "this model wants PETG" nagging when your loadout disagrees — you control what's in each slot, and the binding routes to it. The existing-slicer misfeature, deliberately removed.

04

Standalone & private

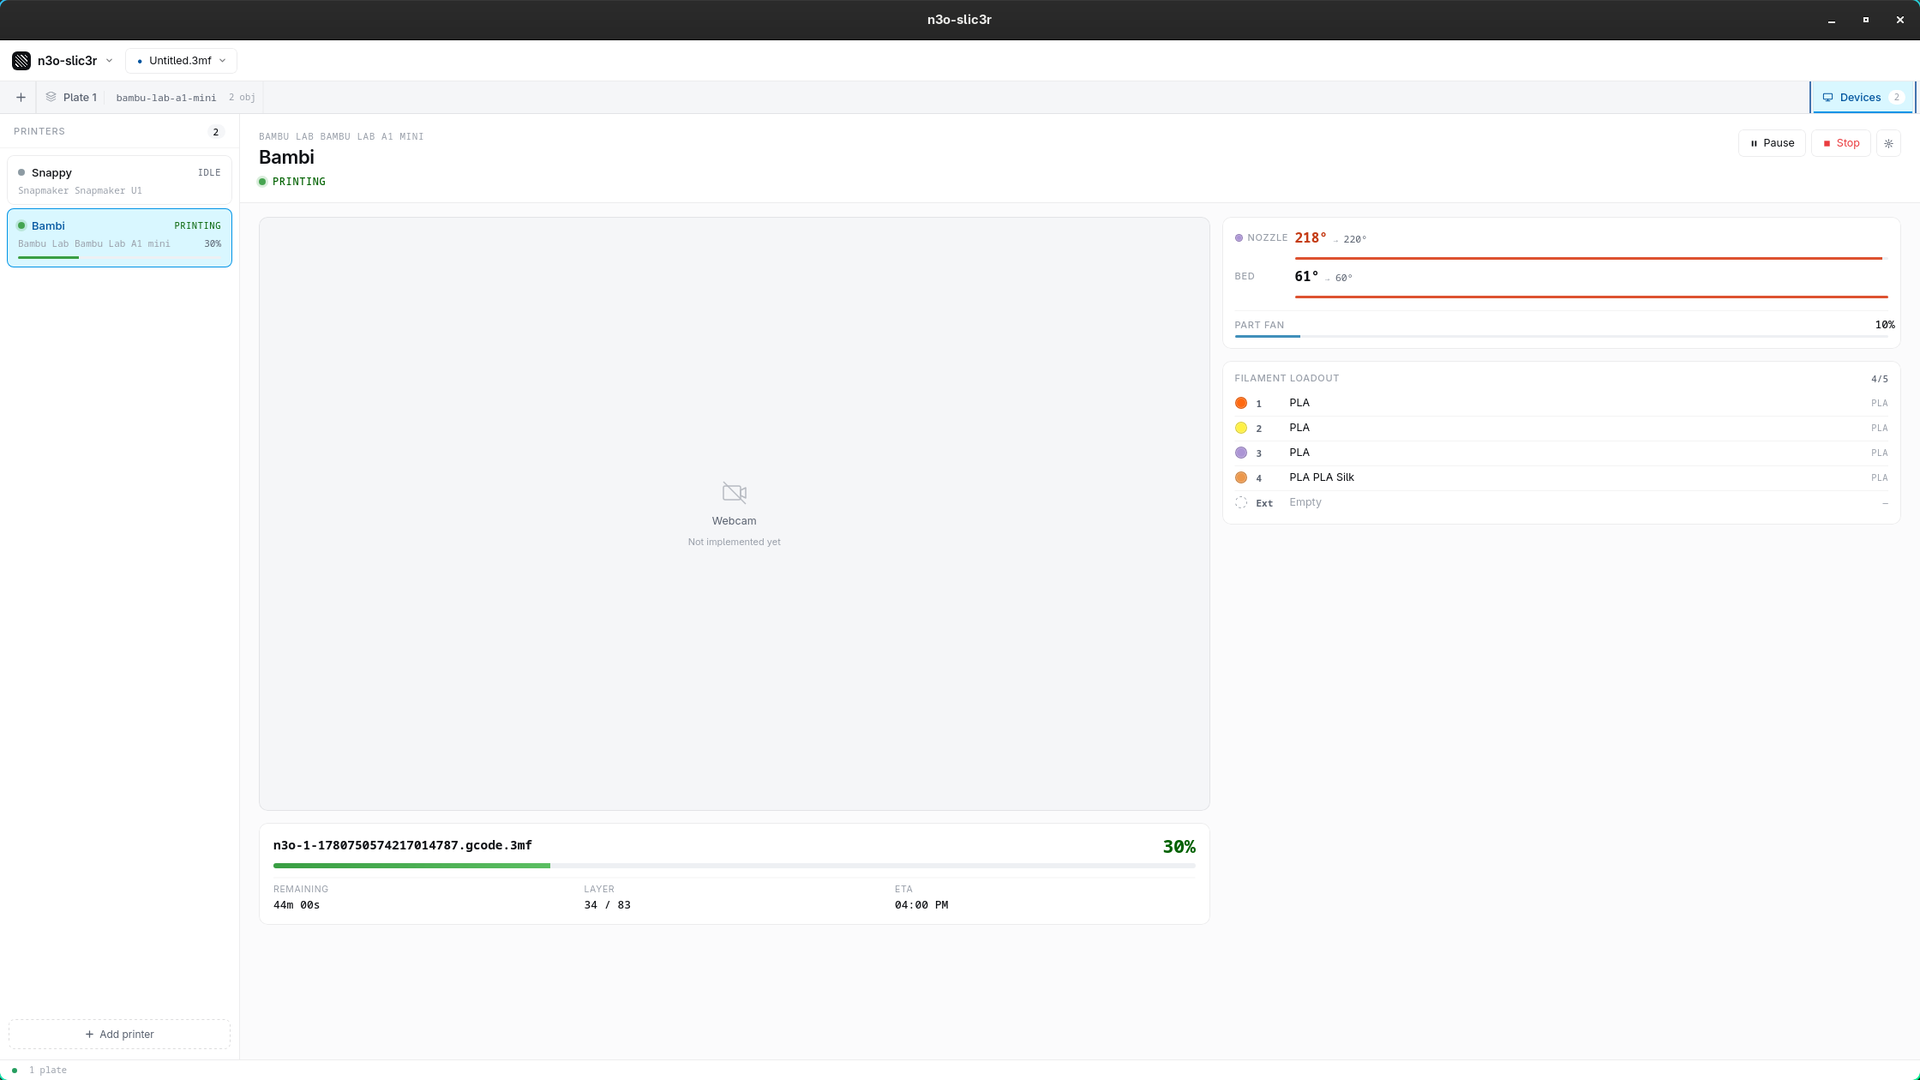
Every step happens here: load → slice → preview G-code → send → monitor. You never need OrcaSlicer or any other tool installed. And there's no telemetry, no analytics, no accounts, and no network calls except to the printers you configure. Licensed AGPL-3.0-or-later.

05

Programmable G-code

Sandboxed Lua plugins transform G-code through a typed model (Move / LayerChange / ToolChange…), scoped per printer. The bundled platecycler plugin auto-ejects a finished plate on an A1 mini + PlateCycler so the next print just runs.

And the table stakes, done right

  • In-app G-code preview — layer slider, feature/speed/flow/tool color modes, hover inspection, per-layer & full-job stats.
  • Slice & send over LAN — Bambu A1 mini (MQTT, access code, no cloud) and Snapmaker U1 (Moonraker HTTP).
  • Live filament sync — read each printer's loadout; bind per (plate, printer).
  • Autosave & recovery — your work survives a crash.

A look at the interface

Built to make the complicated parts legible.

Every screenshot here is a real capture from a running build — the Devices frame below is an actual print in progress.

Prepare workspace: a multi-material case on the 3D plate with the priming tower, the transform toolbar, and the settings panel resolving each value through the cascade.
Prepare. A multi-material case on the plate (priming tower behind it), the transform toolbar, and a settings panel that resolves every value through the cascade — so you can see which layer set it.
Devices fleet monitor: the Bambu A1 mini mid-print with live nozzle and bed temperatures, part-fan, AMS-lite filament loadout, and job progress, with the Snapmaker U1 idle beside it.
Devices. Monitor your whole fleet at once — here the A1 mini mid-print with live nozzle and bed temps, part-fan, its AMS-lite loadout, and job progress (layer + ETA); the U1 idle beside it.

Get it running

Install on Linux with Flatpak.

Needs a 64-bit Linux desktop with a working GPU and Flatpak. The runtime comes from Flathub.

  1. 1

    Add the Flathub remote

    One-time, if you don't already have it.

    flatpak remote-add --if-not-exists flathub \
      https://flathub.org/repo/flathub.flatpakrepo
  2. 2

    Install n3o-slic3r

    From the signed, self-hosted repository.

    flatpak install --from \
      https://n3o.thegraveyard.org/repo/org.thegraveyard.n3o-slic3r.flatpakref
  3. 3

    Run it

    Or launch n3o-slic3r from your application menu.

    flatpak run org.thegraveyard.n3o-slic3r